Recommended Steps To Configure Web Portal
Once installed and customized, using and configuring Web Portal is really straightforward. There are two types of interfaces. The ADMIN interface and the END USER interface (start-up links given previously). Start the ADMIN interface. You have 5 tabs to choose from, which you can use to configure 99% of everything in Web Portal. We recommend configuring in the following order (reverse of tabbed layout):
Configure base SETTINGS: As discussed in prior topic, you can customize the look-and-feel of the END USER interface here. You can do this at any time, but we recommend doing it first.
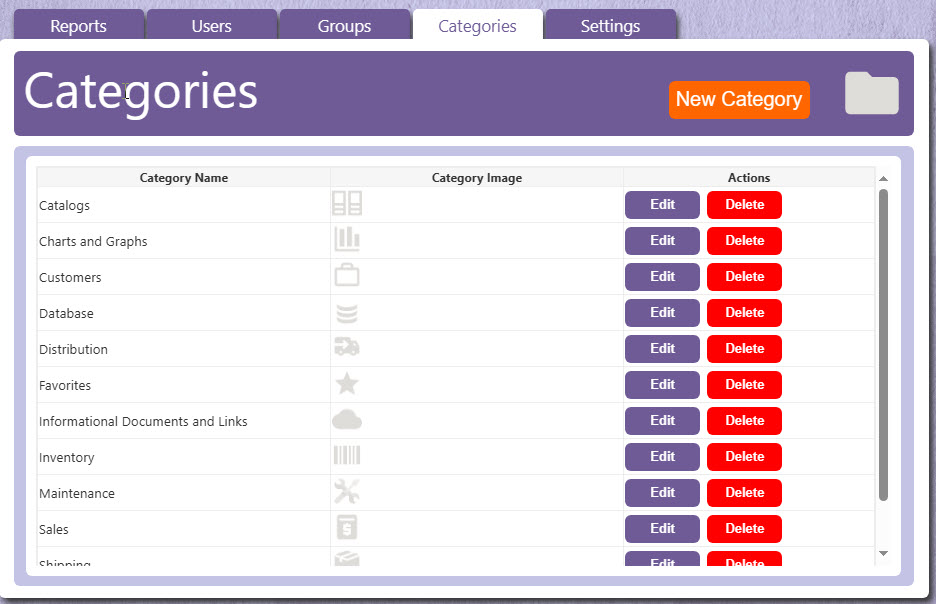
Configure base CATEGORIES: Set up names and icons for all of report categories. We've installed over 150 32x32 sized icons to use within the application. When you add a report, you will have a list of your categories to choose from to assign the report to. End users only see categories for reports they have been assigned. If you have a Management category and an end user has no Management reports assigned to them, they will not see this category. So, set up an unlimited number of categories. We've created a number of default ones for you.
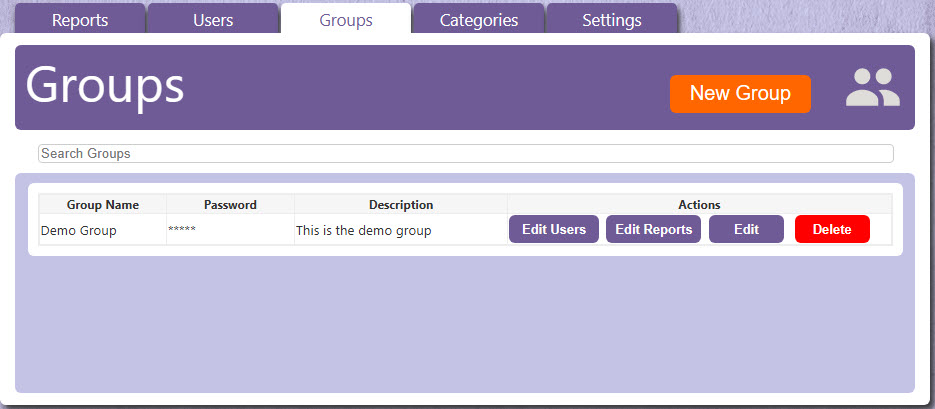
Configure GROUPS: If you are using the Active Directory integration, their is nothing to do here (all groups would be loaded from Active Directory). Otherwise, set up your user groups here. You can be as specific as creating groups like Sales, Support, Administrative, Employees, Customers, etc... or as generic as Everyone (which we include by default). If you have already created some users or reports, you can assign these items here, too. Reports are assigned to groups, not users. Users are assigned to groups. Users can be assigned to multiple groups. Note, we have a unique feature where, if you do not want to create specific user IDs for everyone, you can give them the group ID and password, and they can simply log in as a group.
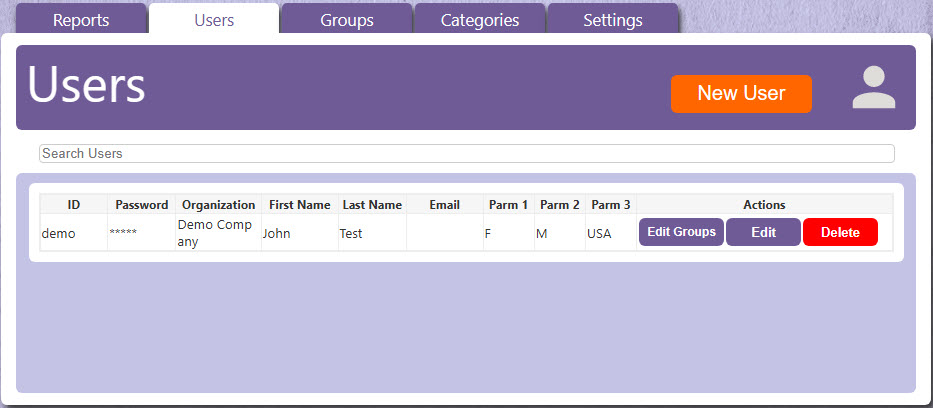
Configure USERS: If you are using the Active Directory integration (LDAP/LDAPS), there is nothing to do here (all users would be loaded from Active Directory). Otherwise, set up your user users here. A user can be anything from an in-house employee to an external customer. One of the neatest features in Web Portal is the ability to assign up to three (3) *hidden*, user-based, parameter values. Why is this neat? This allows you to use one report for everyone, and everyone sees something different because of these values. The end user does not see these hidden values, but you, the administrator, can assign them as "answers" to parameter prompts (and hide the parameter prompts). For example, you may have a sales report that has a salesman ID parameter. You could set up the report to use parameter value one. The salesmen would never see the prompt; it would simply filter the data in the report based on their hidden user value. You could do the same with customer invoices. You could post an invoice report, assign to all customers, and have a parameter that filters the report based on a hidden customer ID. The customers never see this parameter. They simply enter their invoice number and it allows them to see it, because the record selection also filters based on this hidden customer value. The "wrong" customer would never see another customers invoice, because they would have different user values assigned. Note, you could always make the user ID the same as the customers actual account ID (or for salesmen, their actual salesman ID), because one other option for parameters is to assign the "login ID" to the parameter value, too.
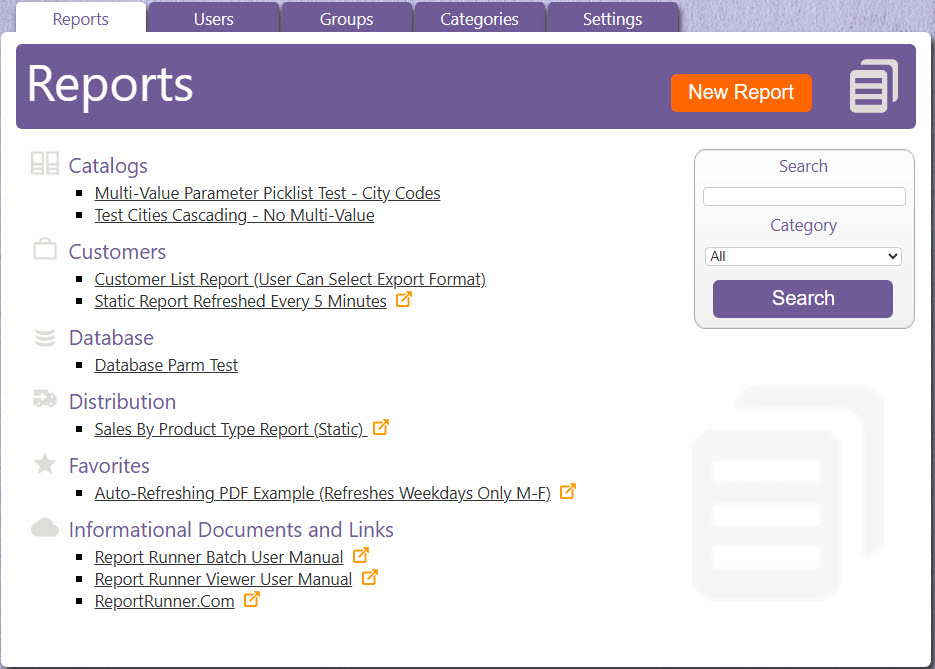
Configure REPORTS: Lastly, you create your reports. You have three types of Web Portal reports:
- Live Crystal Reports
- Static Crystal Reports (pre-run reports using Report Runner Batch)
- Static URLs (http-based links to pages and/or documents).
We will discuss Static Reports and URLs first, and then we will discuss live Crystal Reports-based reports (since live reports require a little more configuration).


