Multi-Factor Authentication (MFA) Configuration
Web Portal handles multi-factor authentication (MFA) via email. Configuring and activating MFA is super simple.
Note, make sure you have configured and tested your SMTP settings in Web Portal before enabling MFA, or it will not work. These SMTP settings are used to send the MFA codes via email.
Enable MFA in web.config file (change from 0 to 1), modify secret, set expiration value in days, and set your MFA email subject.
<!-- Enable/Force MFA --><add key="EnableMFA" value="1" /><add key="MFASecretKey" value="YourNewWebPortalRandomKey2030!@#$%^" /><add key="MFADaysUntilExpiration" value="90" /><add key="MFAMailSubject" value="Your Web Portal MFA Verification Code" />
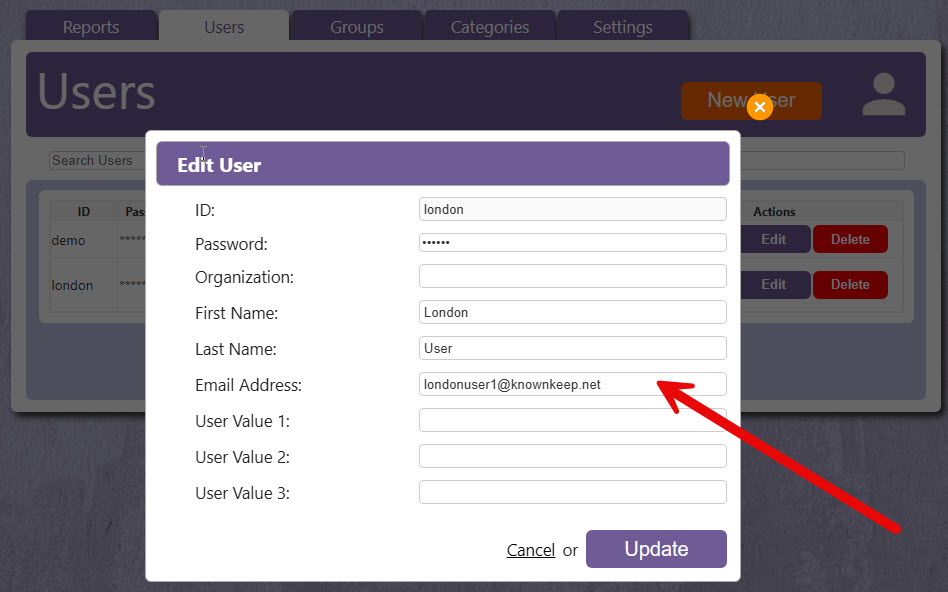
Make sure your users have an email address configured (or if using LDAP/LDAPS, each user has an email address configured).
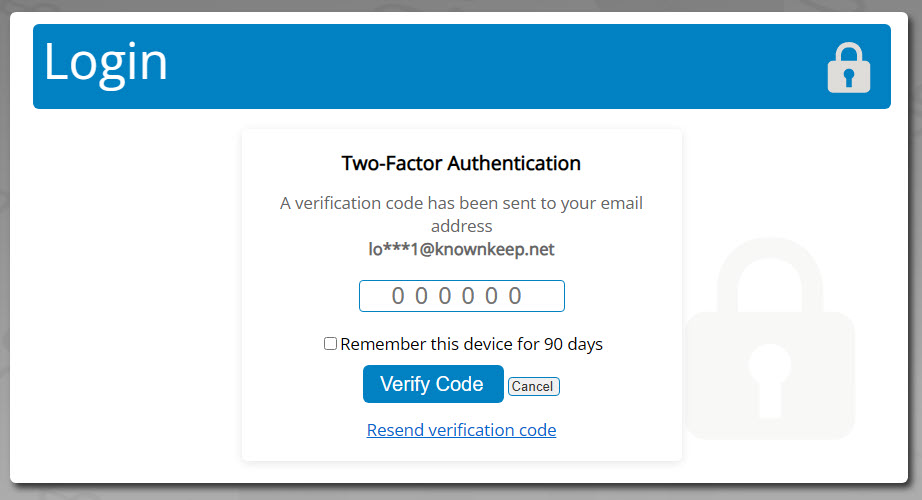
Once enabled, and if a user has an email address, they will be prompted (forced) to enter the MFA code emailed to them to continue.
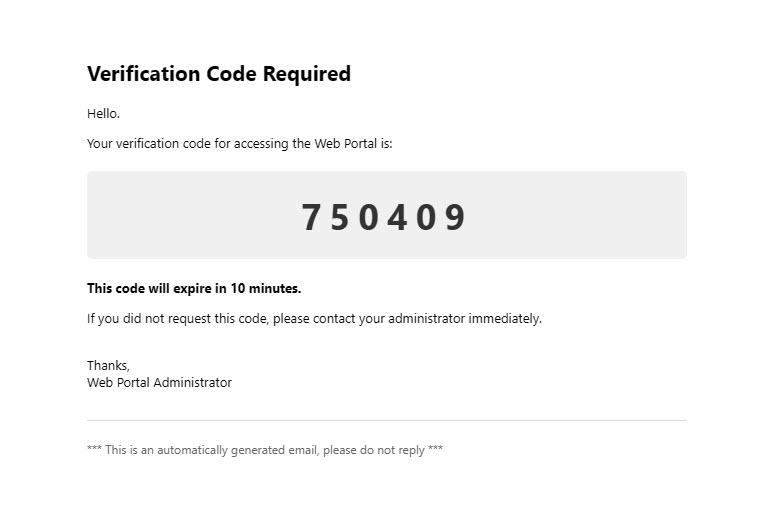
MFA code emailed to user. The default body of the email looks like this:
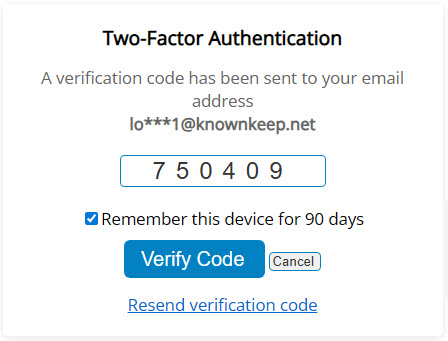
Enter code into MFA pop-up and click to remember device (based on web.config setting).
That's it. User is now verified based on their email address. A cookie gets saved in the users browser (with an expiration date based on the MFADaysUntilExpiration setting).
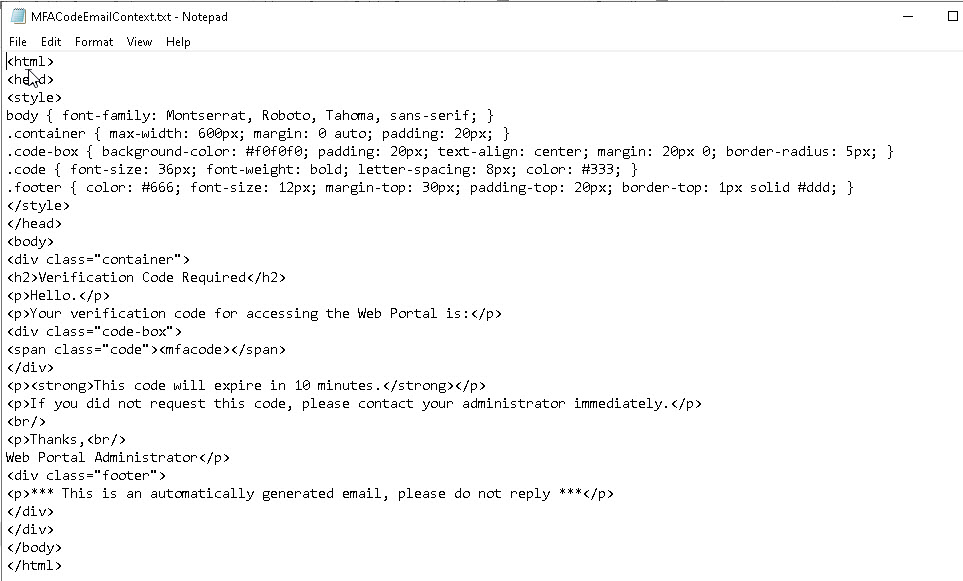
Note, the body/wording of the email can be modified from our default messaging.
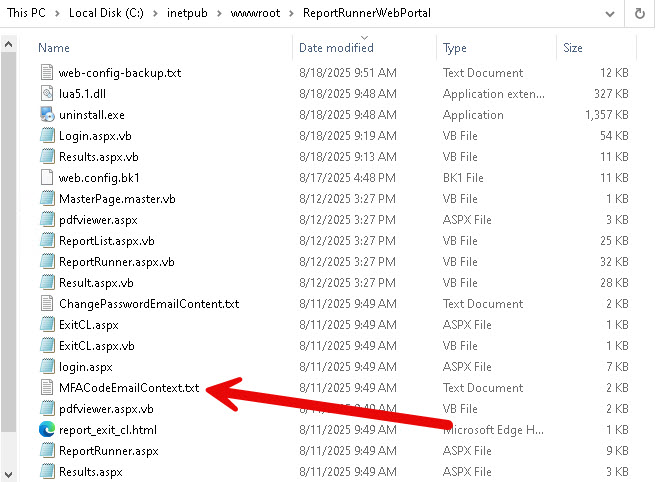
Look for MFACodeEmailContext.txt in main Web Portal directory.
Open the text file with Notepad and edit it.

