Configuring and Using the Mobile App
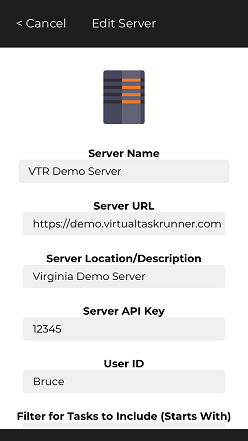
Once you have installed and configured the Web API, the mobile app configuration is pretty simple. You simply create a new server (click "+" icon), name the server, enter your server URL where Web API is active, give server a location or description (your choice), enter the API key (which matches what you configured in Web.Config file), enter an ID to identify you or the end user (for logging purposes), and lastly and optionally, you can enter ONE filter setting to only show tasks which start with whatever you enter (you, of course, can not "filter in" anything that is currently blocked/filtered at the server level, though).
To start the app, look for this icon for Virtual Task Runner:
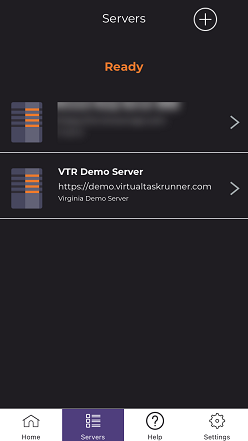
When you click on Servers tab at the bottom, you will see a list of servers.
Click the "+" icon to create a new server or left swipe and click Edit to modify a server (you can right-swipe to delete a server, too). At the bottom of this screen is a SAVE button to store you settings/changes.
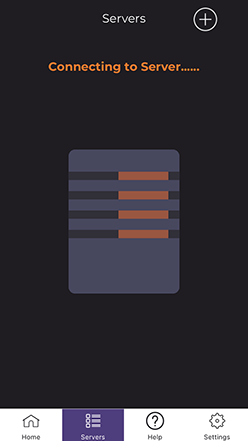
Once saved, just click on your server name to Connect to Server and load the tasks you have access to via the Web API.
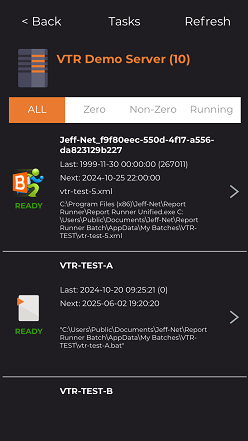
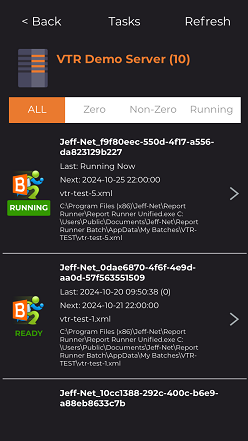
The tasks will display. You can review the information here or click on a task (current status is shown on the left under the icon).
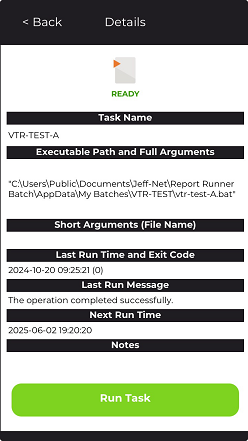
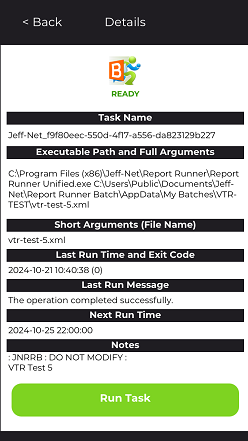
When you click on a task, the current status of the task will show at the top, and then the current information will be displayed. As long a task is in Ready mode, it can be Submitted/Started/Run (just tap Run Task). Here are two examples of a Ready task:
If you tap Run Task, the task will start and the task list will automatically refresh one time. If you want to refresh it again, just tap the Refresh button at the top right.

