
Part 2 - Documentation
2.1 HOME

- Launch an instance of Report Runner Batch
- Launch an instance of Report Runner Viewer
- Launch and instance of Report Runner Documentor
- Close And Exit
2.2 ENTERPRISE VIEWER
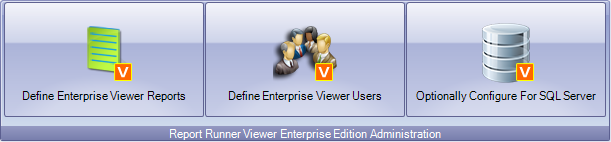
When you run the full installer, you have the option to install the Enterprise edition of Report Runner Viewer (a Viewer Infinity or Full Infinity license is required to use the Viewer Enterprise edition). This menu item is for configuring everything after the initial installation. You can:
- Define Enterprise Viewer Reports
- Define Enterprise Viewer Users
- Optionally Configure (Enterprise Viewer) For SQL Server
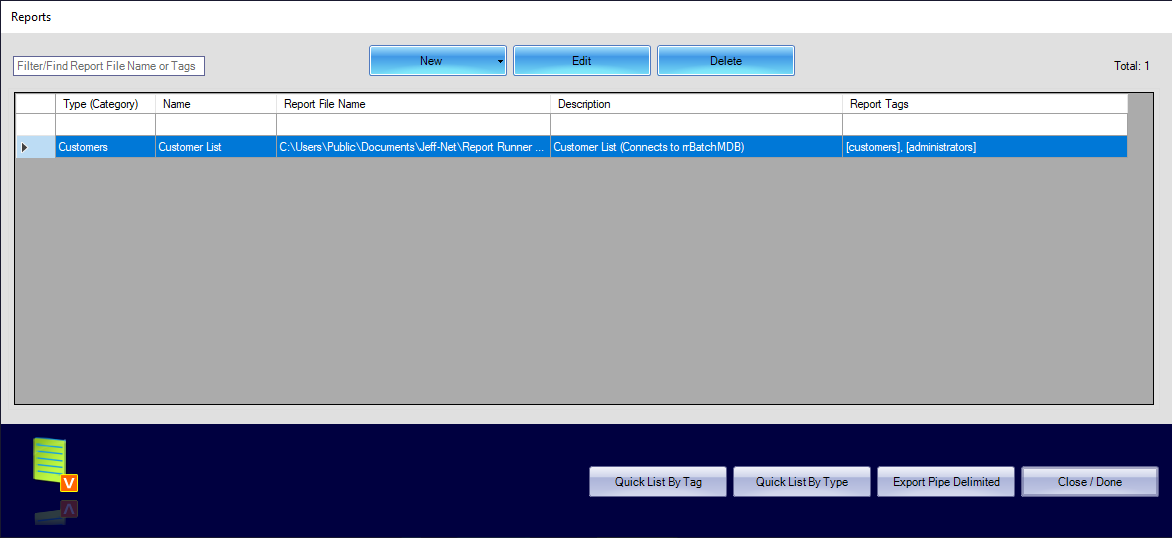
Define Enterprise Viewer Reports
The Reports interface will list all the reports that have been configured for the Enterprise edition. From this interface, you can filter based on the report file name or tags.
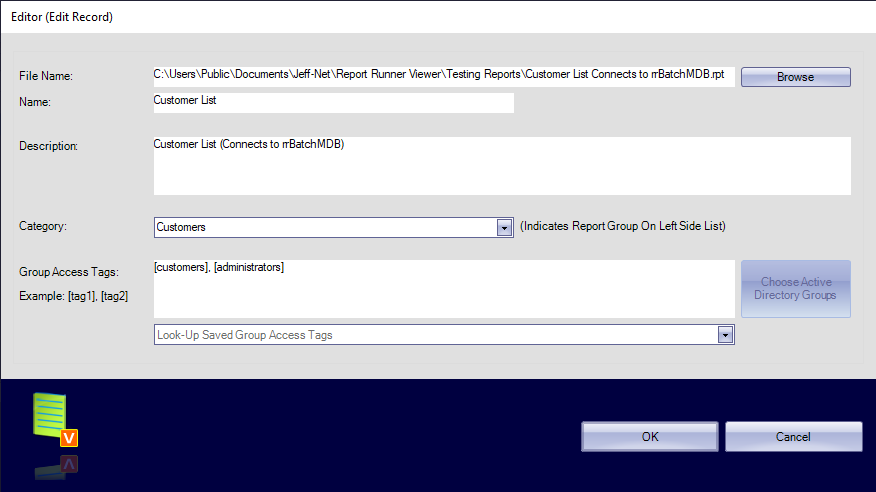
The Report Editor interface allows you to configure the report location (which is hidden from end users), the report name, report description, report category (which determines where, within which report categories the report will be shown to the end user), and lastly the report group tags (which determines which users get access to which reports).
A report can be tagged with any "word" (usually a department name or organization group). Then, whichever tags a user has access to determines whether they see the report when they log in.
Define Enterprise Viewer Users
The Users interface will list all the users that have been configured for the Enterprise edition. From this interface, you can filter based on the user ID, first or last name, or user tags.

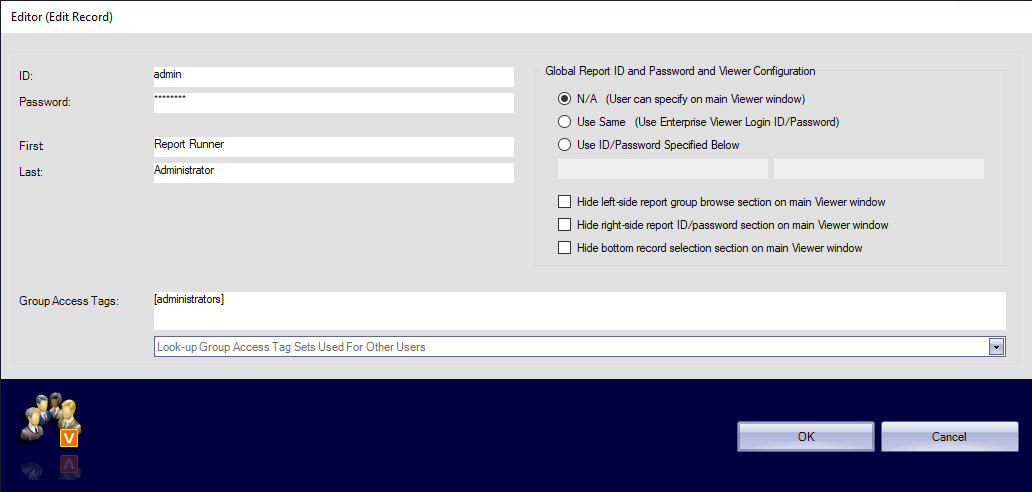
The User Editor interface allows you to configure the user ID and password (which is used to log in), the user's first and last name, and lastly the report group tags (which determines which reports the users can see/access).
A user can be tagged with any "word" (usually a department name or organization group). Then, whichever tags a user has access to determines whether they see a given report when they log in (as long as a user has been issued a given tag, and the report has been assigned the given tag).
Optionally Configure For SQL Server
By default, reports and users are stored in encrypted XML files. If you have more than just a few reports and users, the speed to access these files can slow down a bit. And the more reports and users you have, the slower it will get.
Due to this speed issue, we have an optional way to store reports and users in SQL Server. This has two benefits. One, data is just a bit more secure, and two, anytime you edit your data, a previous "snapshot" is automatically taken. The way we store the data ends up taking up very little space. And if space ever becomes an issue, you can edit the database tables in your favorite SQL Server editor and delete any previous records as you like (the last record is all that's ever used in each table).
Warning: Before doing this import process, be sure and make a backup copy of your reports and users XML files (GroupsAndUsers.XML and Reports.XML).

To configure and implement the usage of SQL Server, just follow the steps outlined in the image above.
- Define/create your database in SQL Server. Name it something like ReportRunnerEnterpriseViewer.
- Configure your connection string as shown above (using your credentials and relevant data of course).
- Test your connection and make sure you have a valid connection string.
- Click the button the Encrypt your connection information (the encrypted data will be shown in the large text box). This encrypted data is automatically saved to a file named EV.INI. This file is saved to the same folder as your previous reports and users XML files (GroupsAndUsers.XML and Reports.XML).
- Click the Create Tables button to create your initial reports and users tables (GroupsAndUsers.XML and Reports.XML).
- Click Import Data button to import all of the previous data from your XML files into the SQL Server tables.
Warning: This import process can only be done ONCE. Why? Because after this data is imported, the previous XML files (GroupsAndUsers.XML and Reports.XML) are emptied out and SQL Server pointers are added to the files.
2.3 PASSWORDS
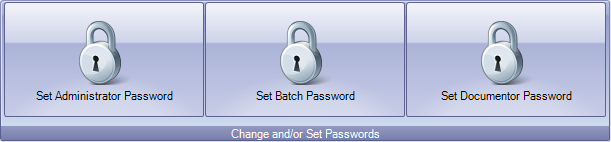
Because you can change so much with the Administrator application, having an Administrator password is required. You can not clear it like you can the Batch and Documentor password.
For setting or re-setting the Batch and Documentor password, if you want to clear the password, use the keyword REMOVE (this is displayed in the prompt when you click the button to set it).
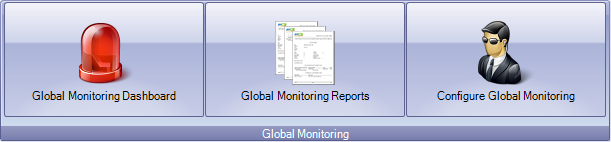
2.4 GLOBAL MONITORING
Global Monitoring is an optional feature which is used to monitor, see, and review EVERYTHING that runs within Report Runner. All products. Everywhere.
It works by logging everything that runs within Report Runner into a SQL Server database. A SQL Server database that YOU host, not us (Known Keep/Report Runner). We/Known Keep see nothing that you run.
The quick basics as to how to set it up is you configure a SQL Server connection string, encrypt it, and save it to the file GM.INI. Then, place that GM.INI file on ANY Report Runner machine in the primary root Report Runner data directory. Any Report Runner app is already configured to look for this file, and if it finds it, it logs activity to that SQL Server database.
Global Monitoring Dashboard

The dashboard gives you some quick stats at the top, shows you a list of what's currently running (again, on ALL Report Runner machines you've configured GLOBALLY).
Global Monitoring Reports
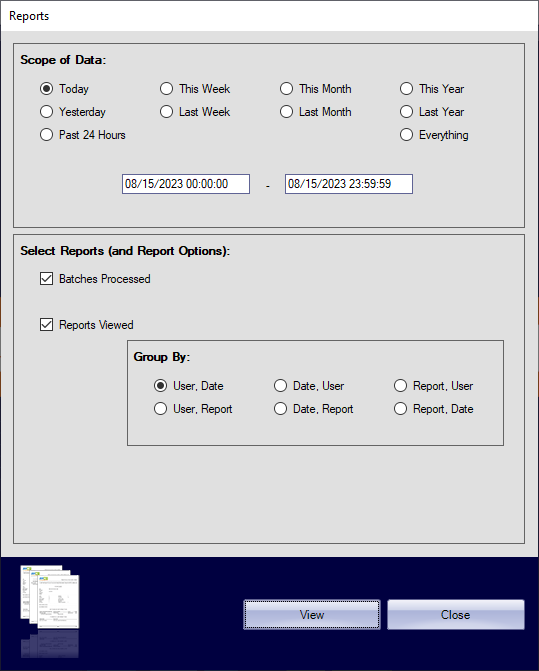
There are two canned reports (but with filtering and grouping they function as many more). And of course, since the data is stored in your SQL Server database, you can create any custom report you want with Crystal Reports.
Configure Global Monitoring
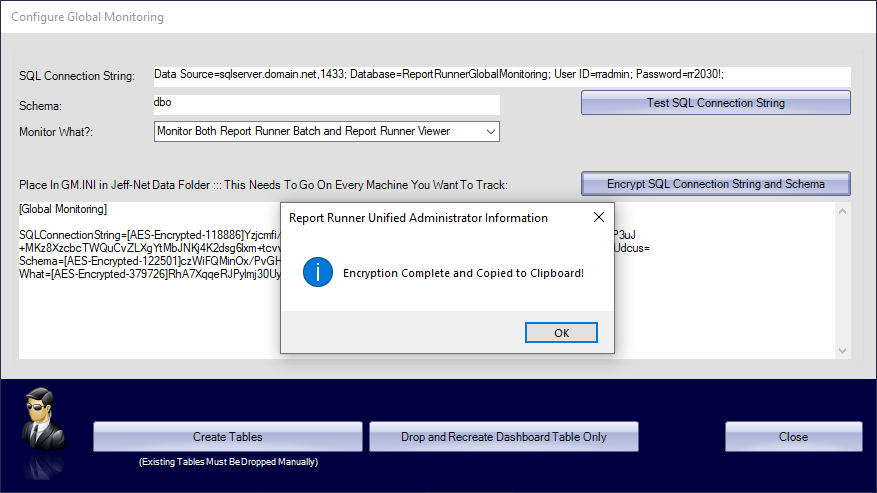
You will want to set your SQL Connection String Settings according to your information. The image print screen below is an example of what it might look like. Note: This information in the SQL Connection String is for informational purposes only! Simply click in the SQL Connection String area to configure your SQL connection information.
You will also want to encrypt your SQL Connection String and Schema, simply by clicking the Encrypt button. It will create your encryption to place in your GM.INI file in the Jeff-Net Data Folder. This same file can be place on ANY Report Runner machine, and that machine will automatically start being logged and tracked.